
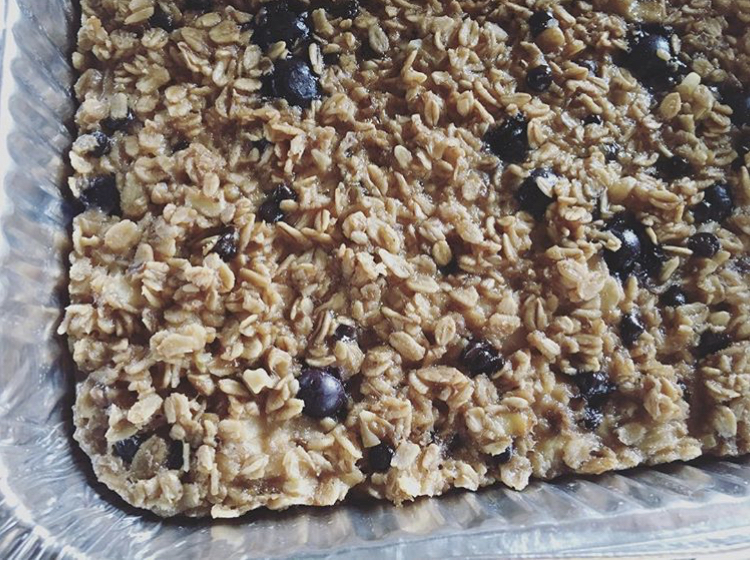
I shared with Edible Austin my two favorite recipes for postpartum care for new mamas. Check out the feature here. Make a tasty oatmeal bake and a power-packed herbal infusion.
Fermented green tomatoes
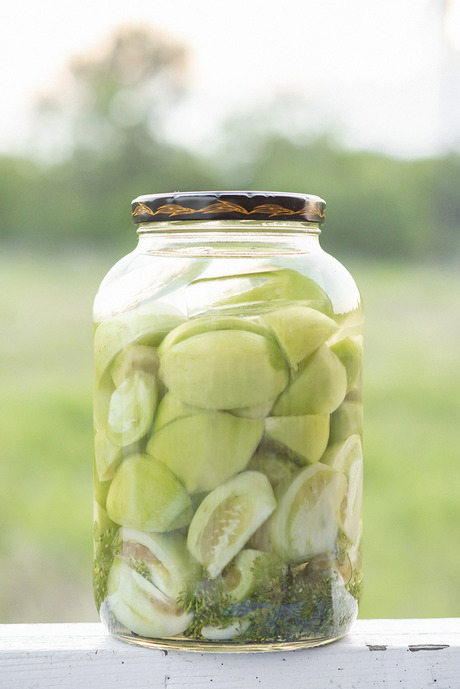
Use this recipe for fermented green tomatoes as a basic fermenting recipe for your favorite veggies this summer.
DIY Electrolyte Drinks

Beat the summer heat and get recipes for three DIY electrolyte drinks from Kate’s Edible Austin feature from Spring 2017.