I first encountered Emma Christensen’s beverage prowess via the kitchn and her posts there and mistakenly thought my good friend Emily was behind a particular fermented soda. What a pleasant surprise to discover Emma and her oeuvre of fermented drinks and that they come handily packaged in this lovely book.
To be a fair reviewer (and take my own background and experience with fermented beverages off the table), I turned this project over to a true newbie, my marketing coordinator Christina, also the illustrator of the esteemed pickle towels and aprons!
I asked her to pick a project and go for it. She picked milk kefir and I love the post she came up with.
I hope you’ll enjoy this book as much we do. To enter the giveaway to win free copy of the book, scroll to the bottom of the post and use the Rafflecopter widget by midnight on January 28, 2014.

Disclosures: 10 Speed Press/Random House provided me with a complimentary copy of this book and will be mailing the winner’s copy directly. If you buy the book from Amazon using the link below, a fraction of the sale gets magically deposited into my bank account.
Guest Post: Making milk kefir
by Christina Valentine
What in the world is kefir? At least that’s what I thought when I agreed to try a milk kefir recipe from Emma Christensen’s book True Brews. At the time, I only knew one Kiefer, and he’s not the type to be drinking milk products, ya dig? I was surprised to find out that kefir is essentially a liquefied yogurt that has all the good bacteria that we love in yogurt. Word on the street was that it was tasty, too.
Why kefir, you may ask?
1) I had never heard of kefir before this experiment.
2) I thought the roommate could buy a pre-made bottle at the store, so I wanted to learn how to make more of this good stuff and also keep culturing endlessly.
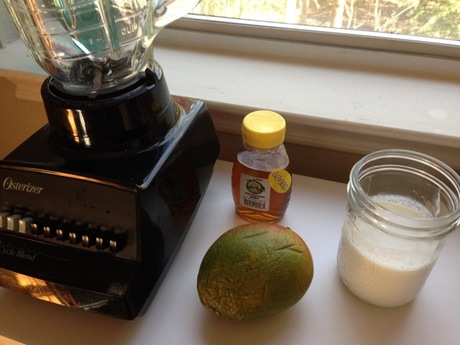
3) It looked simple enough, and I wanted a probiotic smoothie for on-the-go!
As a newbie in the kitchen, the first thing I did was enlist the boyfriend, who pretends he’s to be a great chef and knew which of our unmarked measuring spoons was a tablespoon. With that mystery solved, it was time for the kefir to be made! It was recommended that I use Cultures for Health’s milk kefir grains for my science experiment. Getting started was the trickiest part for me, and since Christensen’s book didn’t explain how to rehydrate the grains, I turned to Cultures for Health’s instructions to do so.
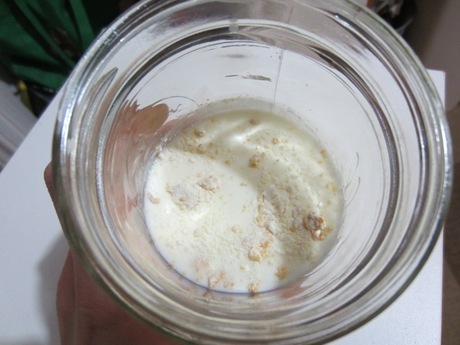
I started rehydrating the grains in one cup whole milk (because kefir loves fatty milk), covered it with a coffee filter, and let them sit in a jar for 24 hours at room temperature.
For the next two days, I strained the grains from the milk and added the kefir grains to fresh milk. However, on the third day, life got in the way, and I didn’t check or change the grains into new milk - a big oops! Unfortunately, this led to some trouble.
Thankfully, Christensen had troubleshooting tips that explained what had happened, and how to resolve it. The kefir had a thick layer on top and a water layer on bottom, which is a sure sign that the kefir had over-fermented. The grains were still healthy, but I just had to try to culture the next batch for less time.
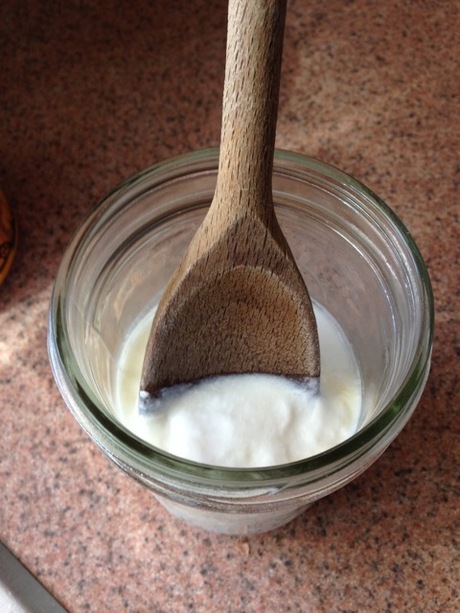
So I did just that: I changed the milk, and checked on the kefir 24 hours later, and BOOM - I finally made kefir!
The boyfriend can’t stop talking about how good that smoothie was. (Seriously, it’s getting annoying.)
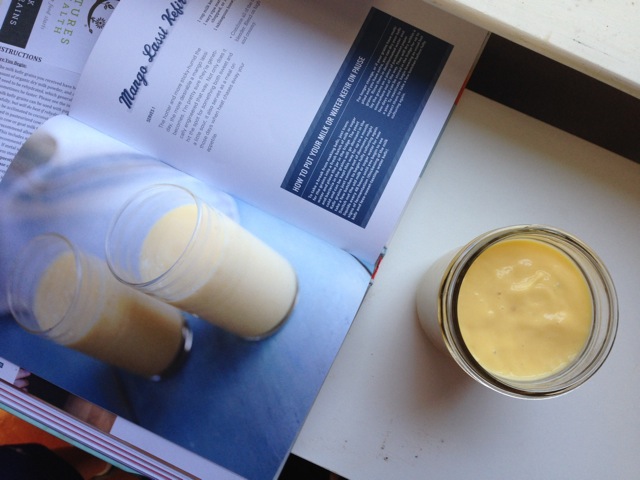
One of the neatest things about this is if you have extra grains (which I did), you can dry the grains and store them in the fridge for up to a year! This won’t be my last kefir experience, especially when I have such a handy step-by-step book like True Brews on hand. Next venture - ginger-pear water kefir with water kefir grains!

