
This project came into being thanks to a demo invitation from Homespun: Modern Handmade, a drool-worthy shop in Indianapolis’ east side. They invited me to demonstrate something hip & crafty and my mason jar pendant light immediately came to mind, but I also wanted to step it up a notch and bring a brand new project to the table.
Luckily, since we were moving, I had a spare string of globe lights, which were formerly hanging in my dining room nailed to the wall in the shape of a heart.
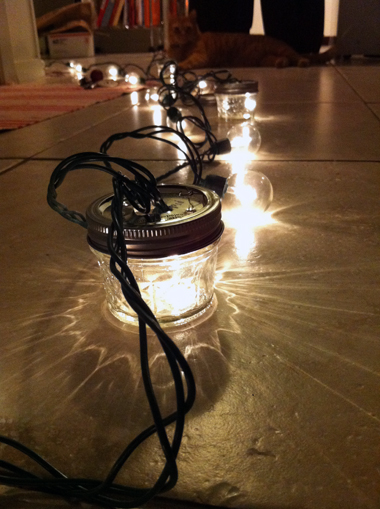
Note on lights: I’ll say this is more of an improvisation guide than a go-buy-a-bunch-of-stuff and expect exact results. There are more varieties of small globe lights out there than I can count on one hand, hence I can’t tell you exactly what the strand you end up with will be like.
I tried this project with two different strands, and this one worked but required a few extra tweaks. Strands like this, which have actual dome-shaped bulbs that screw in (versus the former strand, a dome covering on a standard Christmas light) will work the very best, but they’ll also be more expensive for fewer lights. Some strands’ bulb size will not allow the bulb to fit inside the jelly jar, so, all this is to say, if you’re hell bent on this project, take a jelly jar with you and test it out for fit before you buy the globe lights.
Adding jars to your lights
Let’s do this thing.
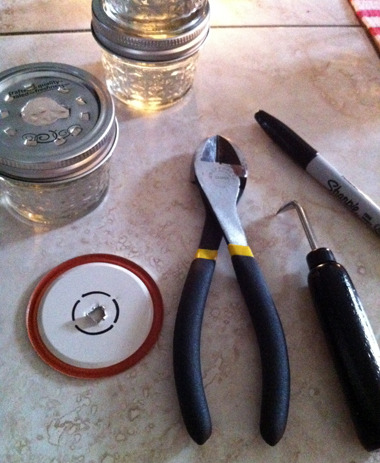
Step 1: Figure out the size of the hole you need to cut in your jar lid by looking at the base of the light fixture and size of the light bulb. I just traced around the base with a sharpie to give myself a guide for step 2. In most cases the size of the bulb is going to be what holds the jelly jar onto your light fixture. You want a hole big enough for your light fixture base to fit through, but not big enough that the bulb can fit through. See what I mean about how I can’t do this for you; you’re a smart person, though, I have no doubts about your ability to make this work.
Use a pokey tool (like the one pictured below), which I don’t actually know its original function, and create your guide hole.
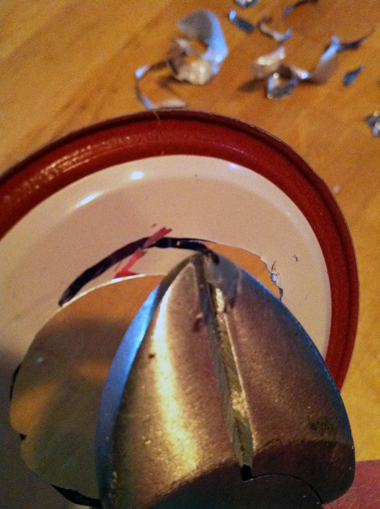
Step 2: Using wire cutters, carefully coax the edge of hole you poked, working in circles and being extra careful to not cut yourself. Pull it toward yourself.
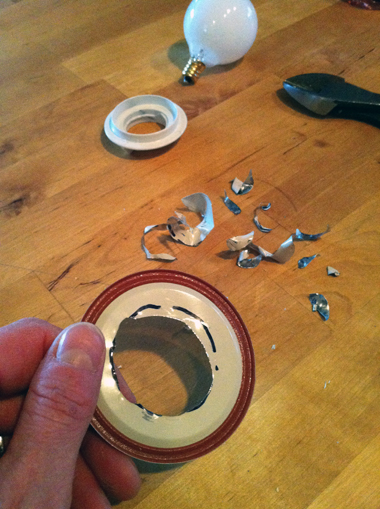 This image is from my jelly jar project with my bathroom fixtures. They have a white base around the light, pictured near the bulb, which is why the hole is so big; your string lights won’t require such a big hole.
Step 3: Once your lid serves as a blocker to keep the bulb inside, screw the lid back onto the top of the jelly jar and poke holes around the big hole you just created (see image earlier in the post for reference). This lets heat out.
Step 4: Set up the jar on the light by starting with your canning band, putting the base of the fixture through the lid, then screwing the bulb in to keep it in place. Screw the jar onto your lid and band set-up.
If you have the Target strand I mentioned above, you’ll need to take the bulb cover off, cut a hole the size of the light itself and then attach the light itself to the lid through the holes with a lightweight metal wire. The bulb cover globe doesn’t fit inside the sealed jar. (Don’t use any material besides metal to affix the soon-to-be-hot bulb.)
Refer to the mason jar pendant light post, linked above, for general structural questions of using mason jars as light covers.
Let me know how it goes for you. Happy lighting!